Get That Professional Sound: A Step-by-Step Guide to Demo Recording
Learn how to create a demo that gets the attention of music industry professionals.
Making a demo recording can be a great way to get your music heard by industry professionals, but it's important to make sure that the final product sounds polished and professional. This is the first impression the music professional gets of you and your music. If it doesn't sound professional, it can actually do more harm than good.
In this step-by-step guide, we will walk you through the process of making a demo recording, and how to make it great from start to finish.

What Is a Music Demo?
A music demo is a short recording of a song, typically three to five minutes long. It’s used as a way for musicians to showcase their work to potential record labels, managers, or publishers. In the past, demos were recorded on cassette tapes and sent through the mail. These days, they’re more likely to be emailed as MP3 files.
The quality of demos can vary widely, from rough home recordings to polished studio productions. Regardless of the quality, though, a great demo should give the listener a sense of the song’s style and arrangement. It should also be well-recorded and free of any distracting noise. Ultimately, a music demo is a tool that can help an artist get their foot in the door of the music industry.
With that said, it’s also worth noting that not all demos are created equal. Some industry insiders believe that too much time and effort spent on a demo can hurt an artist’s chances of success. I don't know if that's true since why would a better sounding demo hurt your chances? There's so much competition out there, and most of it sounds bad that having a polished demo can only help you stand out from the indie musician crowd.
How to Make Your Own Music Demo?
1. Choose your genre
The first step to creating your music demo is to choose the genre you want to produce. Do you want to make pop music? Hip hop? EDM? Once you've decided on a genre, you can start to narrow down your focus.
2. Find your sound
After you've chosen your genre, it's time to find your sound. What kind of artist do you want to be? Do you want to be a singer-songwriter like Taylor Swift or Ed Sheeran? Or do you want to be a rapper like Kendrick Lamar or Drake? Once you've figured out what kind of artist you want to be, you can start to develop your sound.
Recording your demo is only part of the process. There's a lot of competition so make sure you polish your demo like your life depends on it.
3. Write your songs
Now that you know what kind of artist you want to be and what kind of sound you're going for, it's time to write your songs. If you're not a songwriter, don't worry - there are plenty of ways to get help with this step. You can hire a songwriter, buy a songwriting course, or even just search for songwriting tips online.
4. Record your tracks
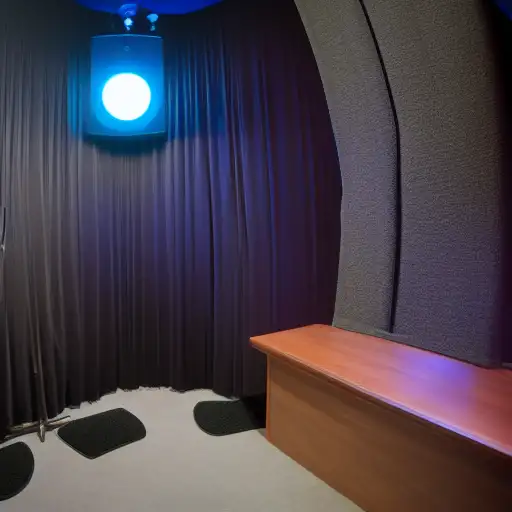
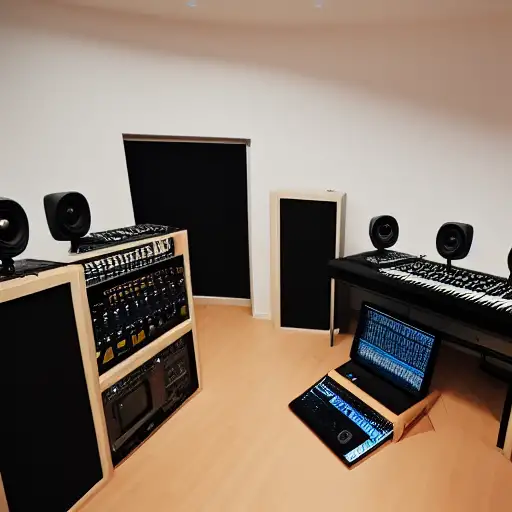
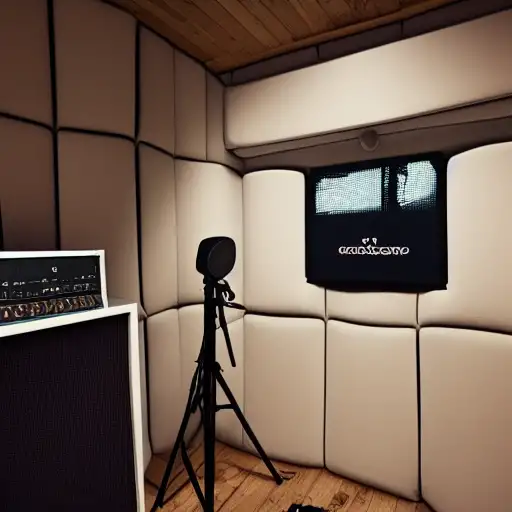
Once you've written your songs, it's time to record them. If you're not a musician, you can hire session musicians to play on your tracks. Or, if you're looking for a more DIY approach, you can use software like GarageBand, Cubase, or Pro Tools to record your own tracks.
5. Mix and master your tracks
After your tracks are recorded, it's time to mix them. This step is important to make sure your tracks sound professional enough to impress the pros. If you're not familiar with the audio mixing process, there are plenty of tutorials and courses available online.
6. Create artwork for your demo
Now that your music is finished, it's time to create artwork for your demo. This step is important to make sure the music professionals get enough visuals to go along with your demo to help you stand out. Artwork can help show who you are and what kind of music you plan to deliver. You can hire an artist or graphic designer to create artwork for your demo, or you can create it yourself using Photoshop or another graphics program.
7. Duplicate and package your demo
Once your artwork is finished, it's time to duplicate and package your demo. If you're doing things like the old school you'll probably need to purchase blank CDs or DVDs and print out labels for them. Then, simply burn copies of your tracks onto the discs and mail them out.
If you're from today's day and time, you'll package your music onto your website, social media site, or music platform such as SharePro Marketplace so that your demo can be easily played and downloaded. Then you'll find as many music industry professionals to submit your music to and point them to your demo you uploaded online.
Once you have your demo created and polished, it's now time to find the music professionals to submit music to.
How to Polish Your Demo & Make It Sound Professional
Even though demos are supposed to be simple showcases of your music and talent, it doesn't hurt to put the extra touches on them to separate yourself from the crowd.
1. Get a good mix
The first step to polishing your music demo is to make sure that you have a good mix. This means that all of the tracks in your demo should be balanced in terms of volume and EQ. You don't want any one track to be too loud or too quiet, and all of the tracks should complement each other.
Rookie mistakes are thinking you can mix your tracks yourself without any experience. You are too close to your music since you created the song so when it's time to EQ properly you may not be able to recognize the subtle edits that will perfect your mixing.
2. Use high-quality audio
Another important step in polishing your music demo is to use high-quality audio. This means recording your tracks using professional-grade equipment and using high-quality audio files. Using low-quality audio will make your demo sound amateurish, so it's important to use the best quality audio that you can.
3. Edit your tracks
Once you have recorded your tracks, it's important to edit them before you include them in your demo. This means removing any mistakes, add layers or background vocals, adjusting the levels, and adding effects such as reverb and delay. Editing will help to make your tracks sound more polished and professional.
4. Choose the right format
When you're ready to save your music demo, it's important to choose the right format. WAV files are typically the best choice for demos, as they are lossless and provide high-quality audio. However, MP3 files are also a good option if you need to save space or if you plan on sharing your demo online. If you upload to a music platform they will take care of compressing your WAV file for you.
5. Master your demo
Once you have recorded and edited your tracks, it's time to master them. Mastering is the process of ensuring that all of the tracks in your demo sound uniform in terms of volume and EQ. This will give your demo a polished, professional sound that will impress listeners.
6. Choose the right length
When choosing the length of your music demo, it's important to strike a balance between too long and too short. If your demo is too long, listeners may lose interest before it's over. On the other hand, if it's too short, they may not feel like they've gotten a good overview of your music. Aim for a length of around 30 minutes for your demo.
7. Give it a catchy name
When it comes to naming your music demo, you want something that is both catchy and descriptive. This will help listeners remember your demo and give them an idea of what it sounds like. Avoid using generic names such as "Demo 1" or "My Music." Instead, come up with something unique that will catch people's attention.
HOW TO SUBMIT DEMOS AND GET SIGNED BY A RECORD LABEL
Blog Article Tags
demo music demo indie artist indie songs albums music industry tastemakersMore Articles
From Hobby to Business: How to Make Money From Listening To Music - Turn listening to music is a hobby into listening to music gets you paid.
How to Make Music: A Beginner’s Guide - Learn simple to follow step-by-step tips on how to start creating your own songs & release them..
5 Tips for Booking a Recording Studio at a Good Price - If you're looking to book studio time at a good price, check out these solid tips.
How To Build Your Home Recording Studio For Under $600 - Learn how to affordably build your home recording studio with ease.
How To Make Money As An Indie Artist - If you're looking for 5 easy ways to make money with your music, we show you how.